Yes - we can:
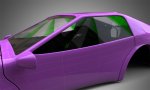
@ZooHead: gorgeous taillights. :icon_thumbup:
Cheers
Frank
Thanks Frank! This is great.

Yes - we can:
@ZooHead: gorgeous taillights. :icon_thumbup:
Cheers
Frank
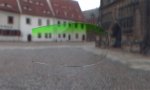
Hi Eric, this a great post to follow, enjoying it all, and the extra info is great too! :icon_thumbup: :icon_thumbup: :icon_thumbup:
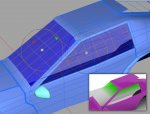
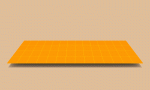
You can use the UV-mapper tool to align the UVs on the polygon selections one by one like shown in the screenshot:
Cheers
Frank
Really impressed!!! :icon_thumbup::icon_thumbup::icon_thumbup::icon_thumbup:
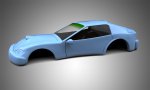
Don't give up working on details this model is great!
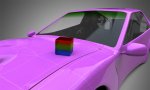
Ps Now the door needs a gap also in the front or you must enter the car as in the General Lee from Azard..
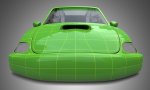
Hi Eric, it's looking sportier all the time and pretty powerful too, maybe you've found another use for your seat and harness setup - http://www.cheetah3d.com/forum/showthread.php?t=9906&page=3&highlight=tsunami
Cheers, Pat