ZooHead
0
Working with the Pose Tag along with Key Hierarchy and Key Only Changed Parameters (KOCP) settings.

When animating, I prefer to keyframe as few things as possible. A hand, even a three finger hand,
could have around 16 bones, and three IK Targets. The IK used with Targets means I don't need
to keyframe anything under the IK's influence, in this case the fingers.
The things I need to keyframe are the wrist bone, the three palm bones and the three IK Targets.
The bones only need Rotation to be keyed and the Targets only need Position.
The problem when using Key Hierarchy is, all objects downstream from the selected bone will be keyed
for whatever you have set. So everything will have both Rotation and Position keyframed in this situation.
This leaves me with a lot of keyframes I don't need.
But with a little work after the first keyframe, and the use of
Key Only Changed Parameters, you can control the unneeded clutter.
First I'd like to stress the power of the Pose Tag when animating.
Once you Bind the Skeleton to the model, capture the Bind Pose with the Pose Tag.
Then each time you move the bones into another position, capture it with the Pose Tag.
And if you change one of those positions, you can update it in the Pose Tag.
I know the Skeleton Tag has a Show Bind Pose button but that won't
work unless you disable the IK Targets, which is a pain in the neck.
The power of the Pose Tag doesn't end there, it's also great to unify a position across multiple Takes.
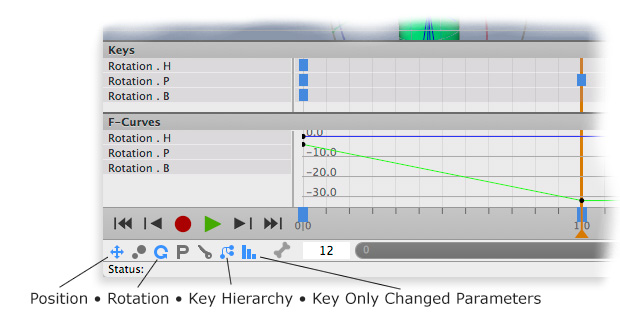
The secret to this method is to make your first keyframe with Key Hierarchy on and KOCP off.
Then go through each bone and Target and delete the keys you don't want.
I deleted the Position keys from the bones, Rotation keys from
the Targets and all keys from the arm and finger bones.
Now switch on KOCP for the rest of the keyframes and only Rotation
will be keyed for the bones, Position will be keyed for the Targets
and If you deleted all keyframes like I did for the arm bone
and finger bones no keyframes will be created.

